I did a design for a client. He's business is printing shirts and recently he asked me to trace his quick sketch and turn it into a full color design. I used pen tool,
PATHFINDER, stroke and other tools from Adobe Illustrator.
1. First create a new document and make sure the document is CMYK(for print), 300dpi and enter your desired size.
2. Photoshop the line art to make sure it's clean and clear. Meaning your image needs to have good contrast so the blacks are deep black. Paste it inside the artboard then
lock the layer with the line art and create a new layer for the vectors named "Vector".
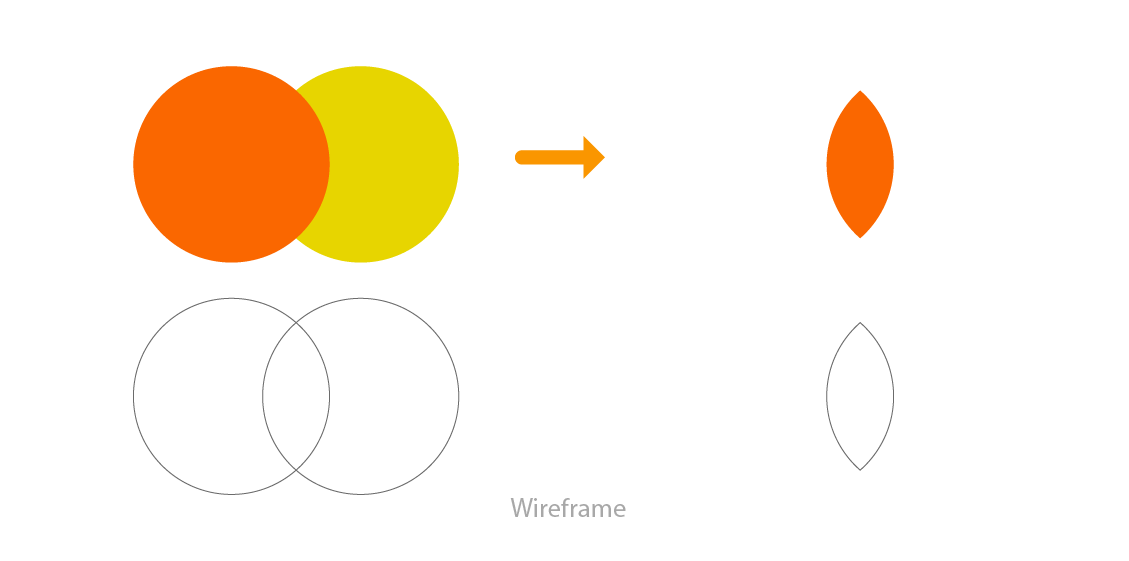
3. In the Vector layer trace all the black outline using the pen tool. You'll then create strokes around the outlines. You can also use
PATHFINDER to help you reshape your vectors.
Using the pen tool is easy as click and drag. First click on where you want the node to start and drag it to the direction you want the next node to be.
TIPS:
• Shortcut "P"
• You can also click the node twice so the anchor points wont follow your next node.
• Clicking alt before realising the pen tool will give you much accurate direction of the anchor points.
Finished outline:
4. When your done with the outlines next is adding it's fill color.
Adding gradient fill is probably the hardest part, seeing your design in color for the first time is scary and needs allot of attention. :)
Fill in the highlights and the shadows of your monsters. :)
Doing that you need to go to Gradients tab and click on the gradient bar. On default, the gradient bar shows black and white, to change the colours you can drag and drop colour swatches on the sliders. Position the sliders until you get the effect that you desire.
TIPS:
• Shortcut "G"
• Select the vector you want to edit then click and drag to change the direction of the gradient.
Final Color: